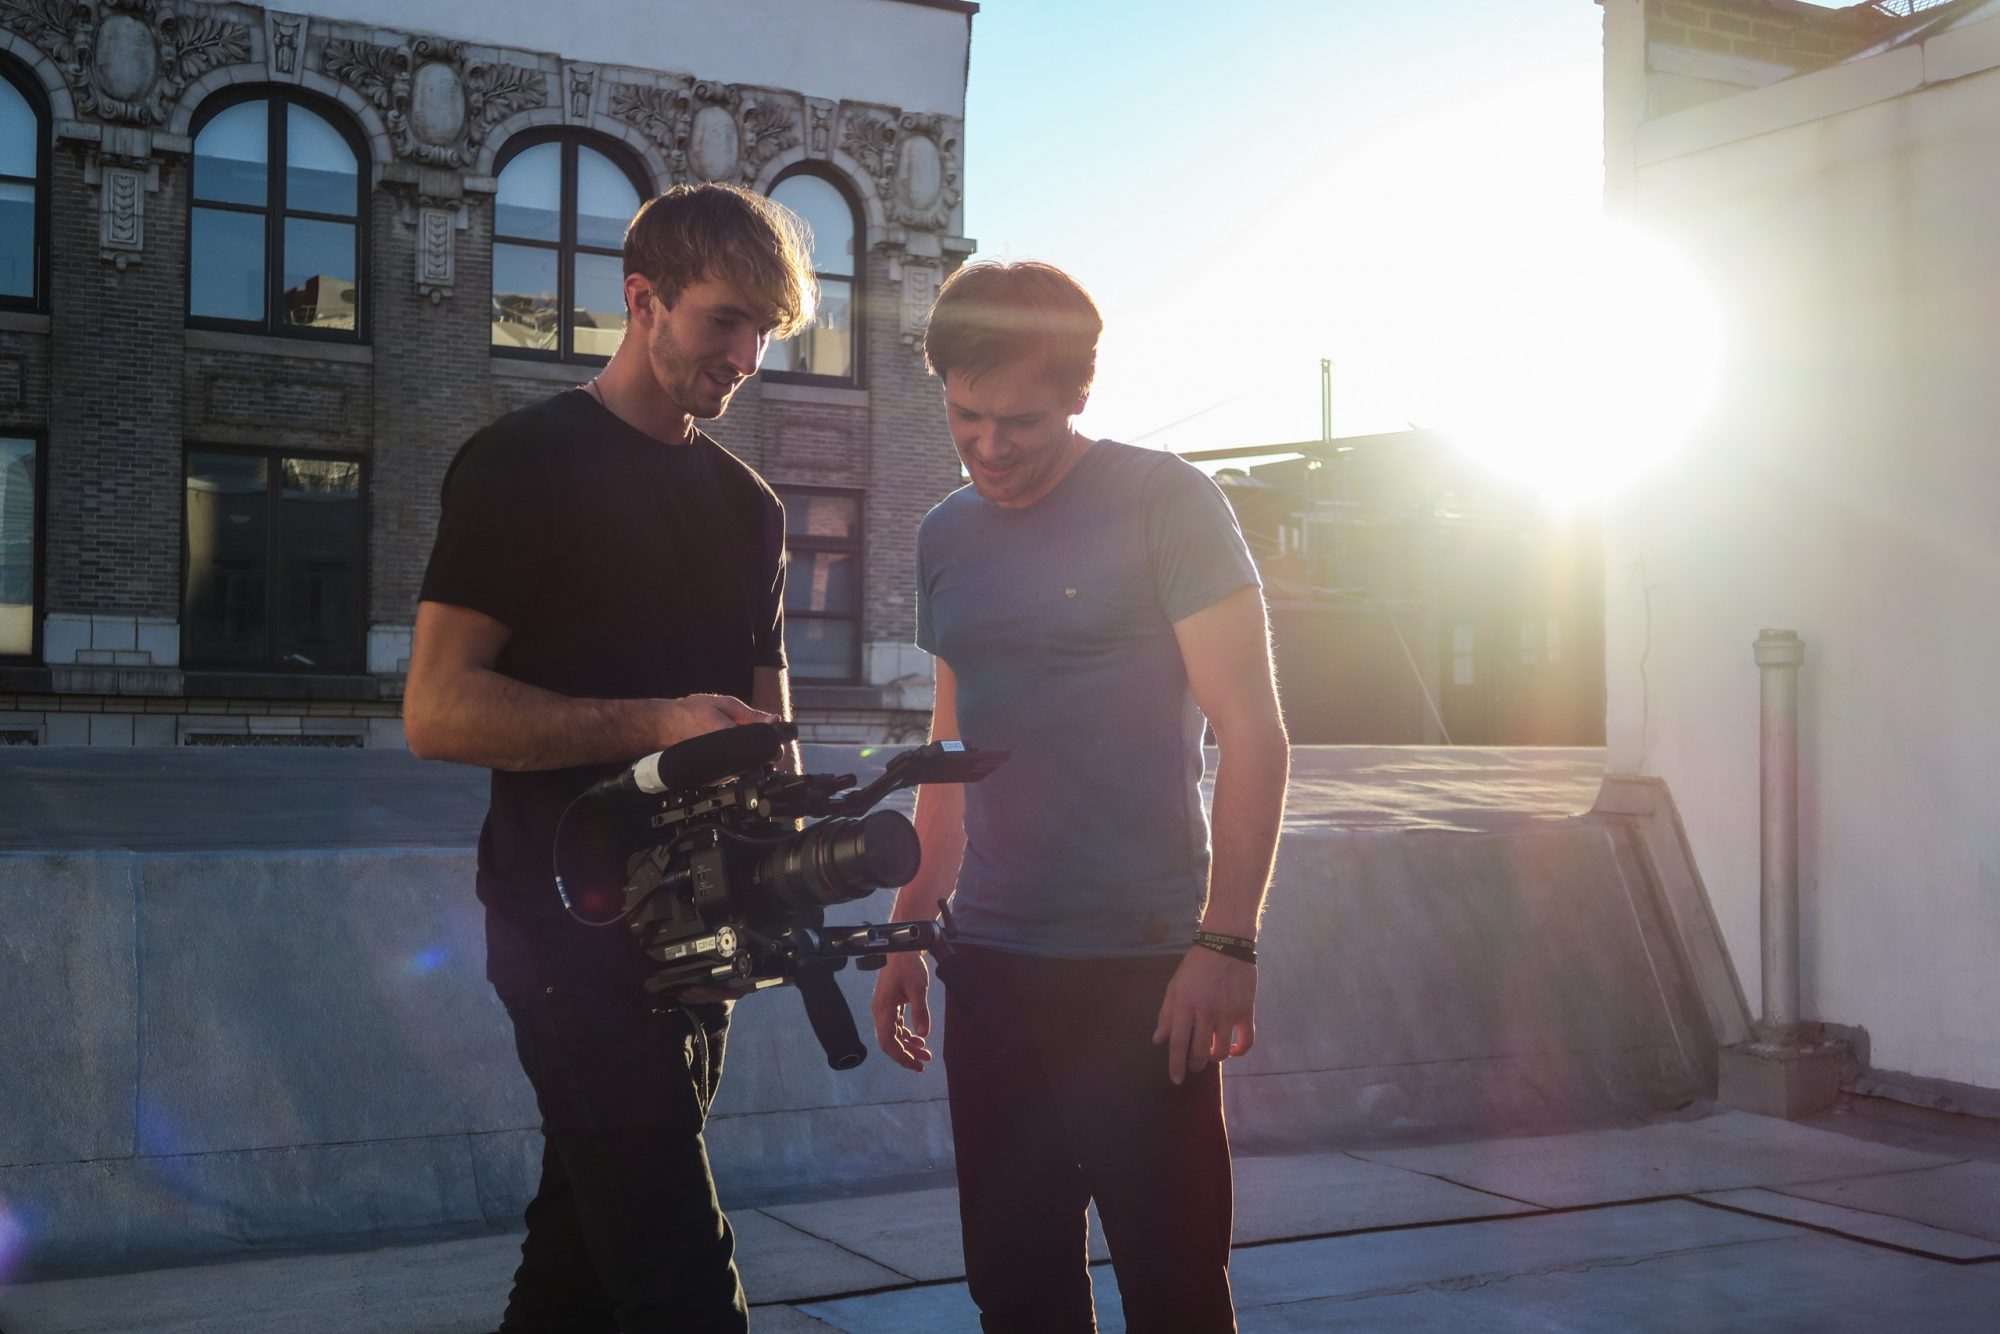
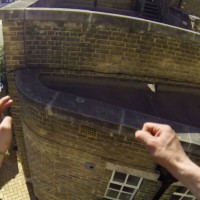
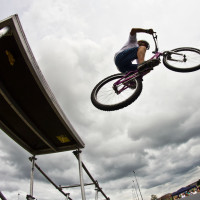
So you want to know how to make a parkour video?
We at Ampisound have got you covered. We’ve been making parkour videos since 2008, and picked up a little bit of experience on the way. Throughout this article we will explain how to get started with how to make a parkour video, what kind of camera is good to start with, the best first person parkour camera and some tips and tricks for growing on YouTube.
You’re going to need a camera
There are loads of different cameras you can use to film parkour. Most of the community is currently shooting on Canon DSLRs, GoPro and probably more than anything iPhones! If you’ve seen a parkour video online, chances are it was filmed with one of these. Cameras can be quite complicated because you need lots of things all working in tandem, camera bodies, lenses, settings, exposure etc, and thats before you even have to edit anything! We’ll do our best to walk you through it all as clearly as possible.
We have three recommendations for you
Depending on how technical you want to get, there are a few options. If you want to seriously make videos, and are ready to get in depth technical knowledge to get the most out of the camera, then the sony & panasonic video-focused options are good choices. If you prefer an all around option, that lots of people in the community already have and with less of a learning curve, go with one of the Canon options. Finally if you’re looking for the ultimate in pocketable cameras that are hard to break, provide good quality and allow POV videos, grab a GoPro.
The recommendations here are generally geared towards people buying their first camera, or upgrading from a phone camera, so while there are loads of more expensive and professional options, this article will focus on affordable but capable cameras that are a good bet for your first few parkour videos. Lets go more in depth about the options, they break down as follows…
Video-Focused Options
We have a couple of recommendations for a starter video camera, and while these cameras can take photos, the recommendation is mostly for their extensive video functionality and the higher quality video they will produce. All of these options can shoot in 4K, which is a nice benefit to quality, but considering 85% of any audience is watching on mobile, it’s not that important. The more important elements of these cameras are the flatter colour profiles, which give you more flexibility in colour grading, and the more professional image exposure and focusing tools they offer.
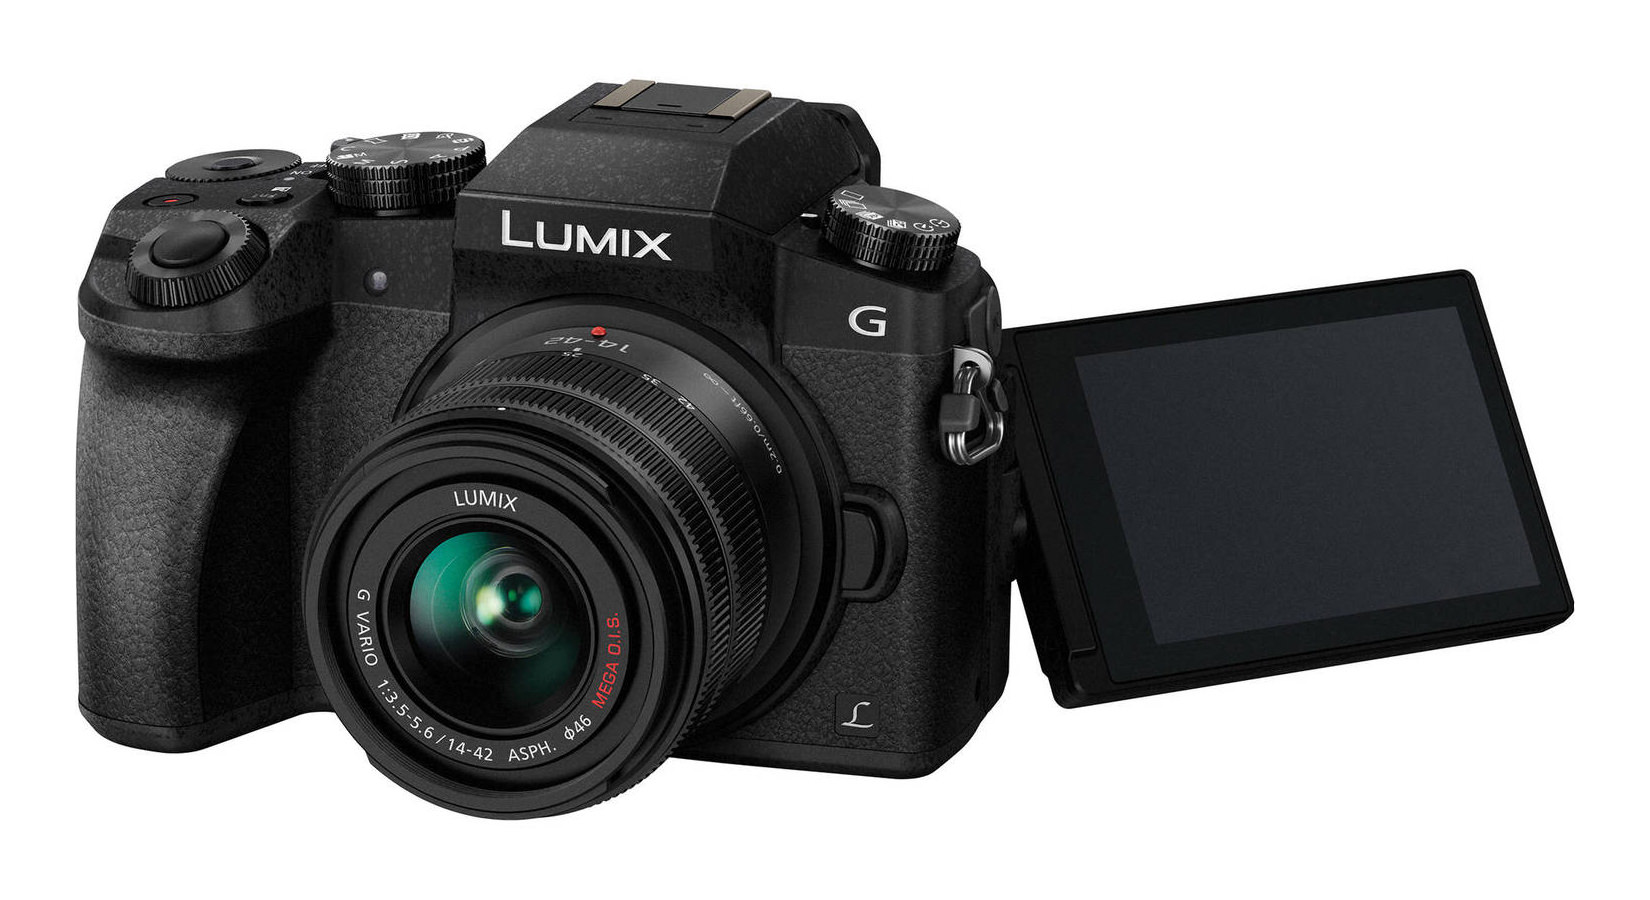
Panasonic G7
The Panasonic G7 is a camera that gets a lot of recommendations a budget video camera and the reasons are obvious. It’s got good 4K video, lots of cinematic technical options and is very affordable. As a starter entry level camera, it gives you plenty of scope to learn and improve and is one of the cheaper options. The video quality rivals its bigger brother the Panasonic GH4, and the MFT lens mount allows you to buy into a lens system that has a lot of upgradability down the line.
You can get it at the following links
Amazon US Amazon UK Amazon DE Amazon CA
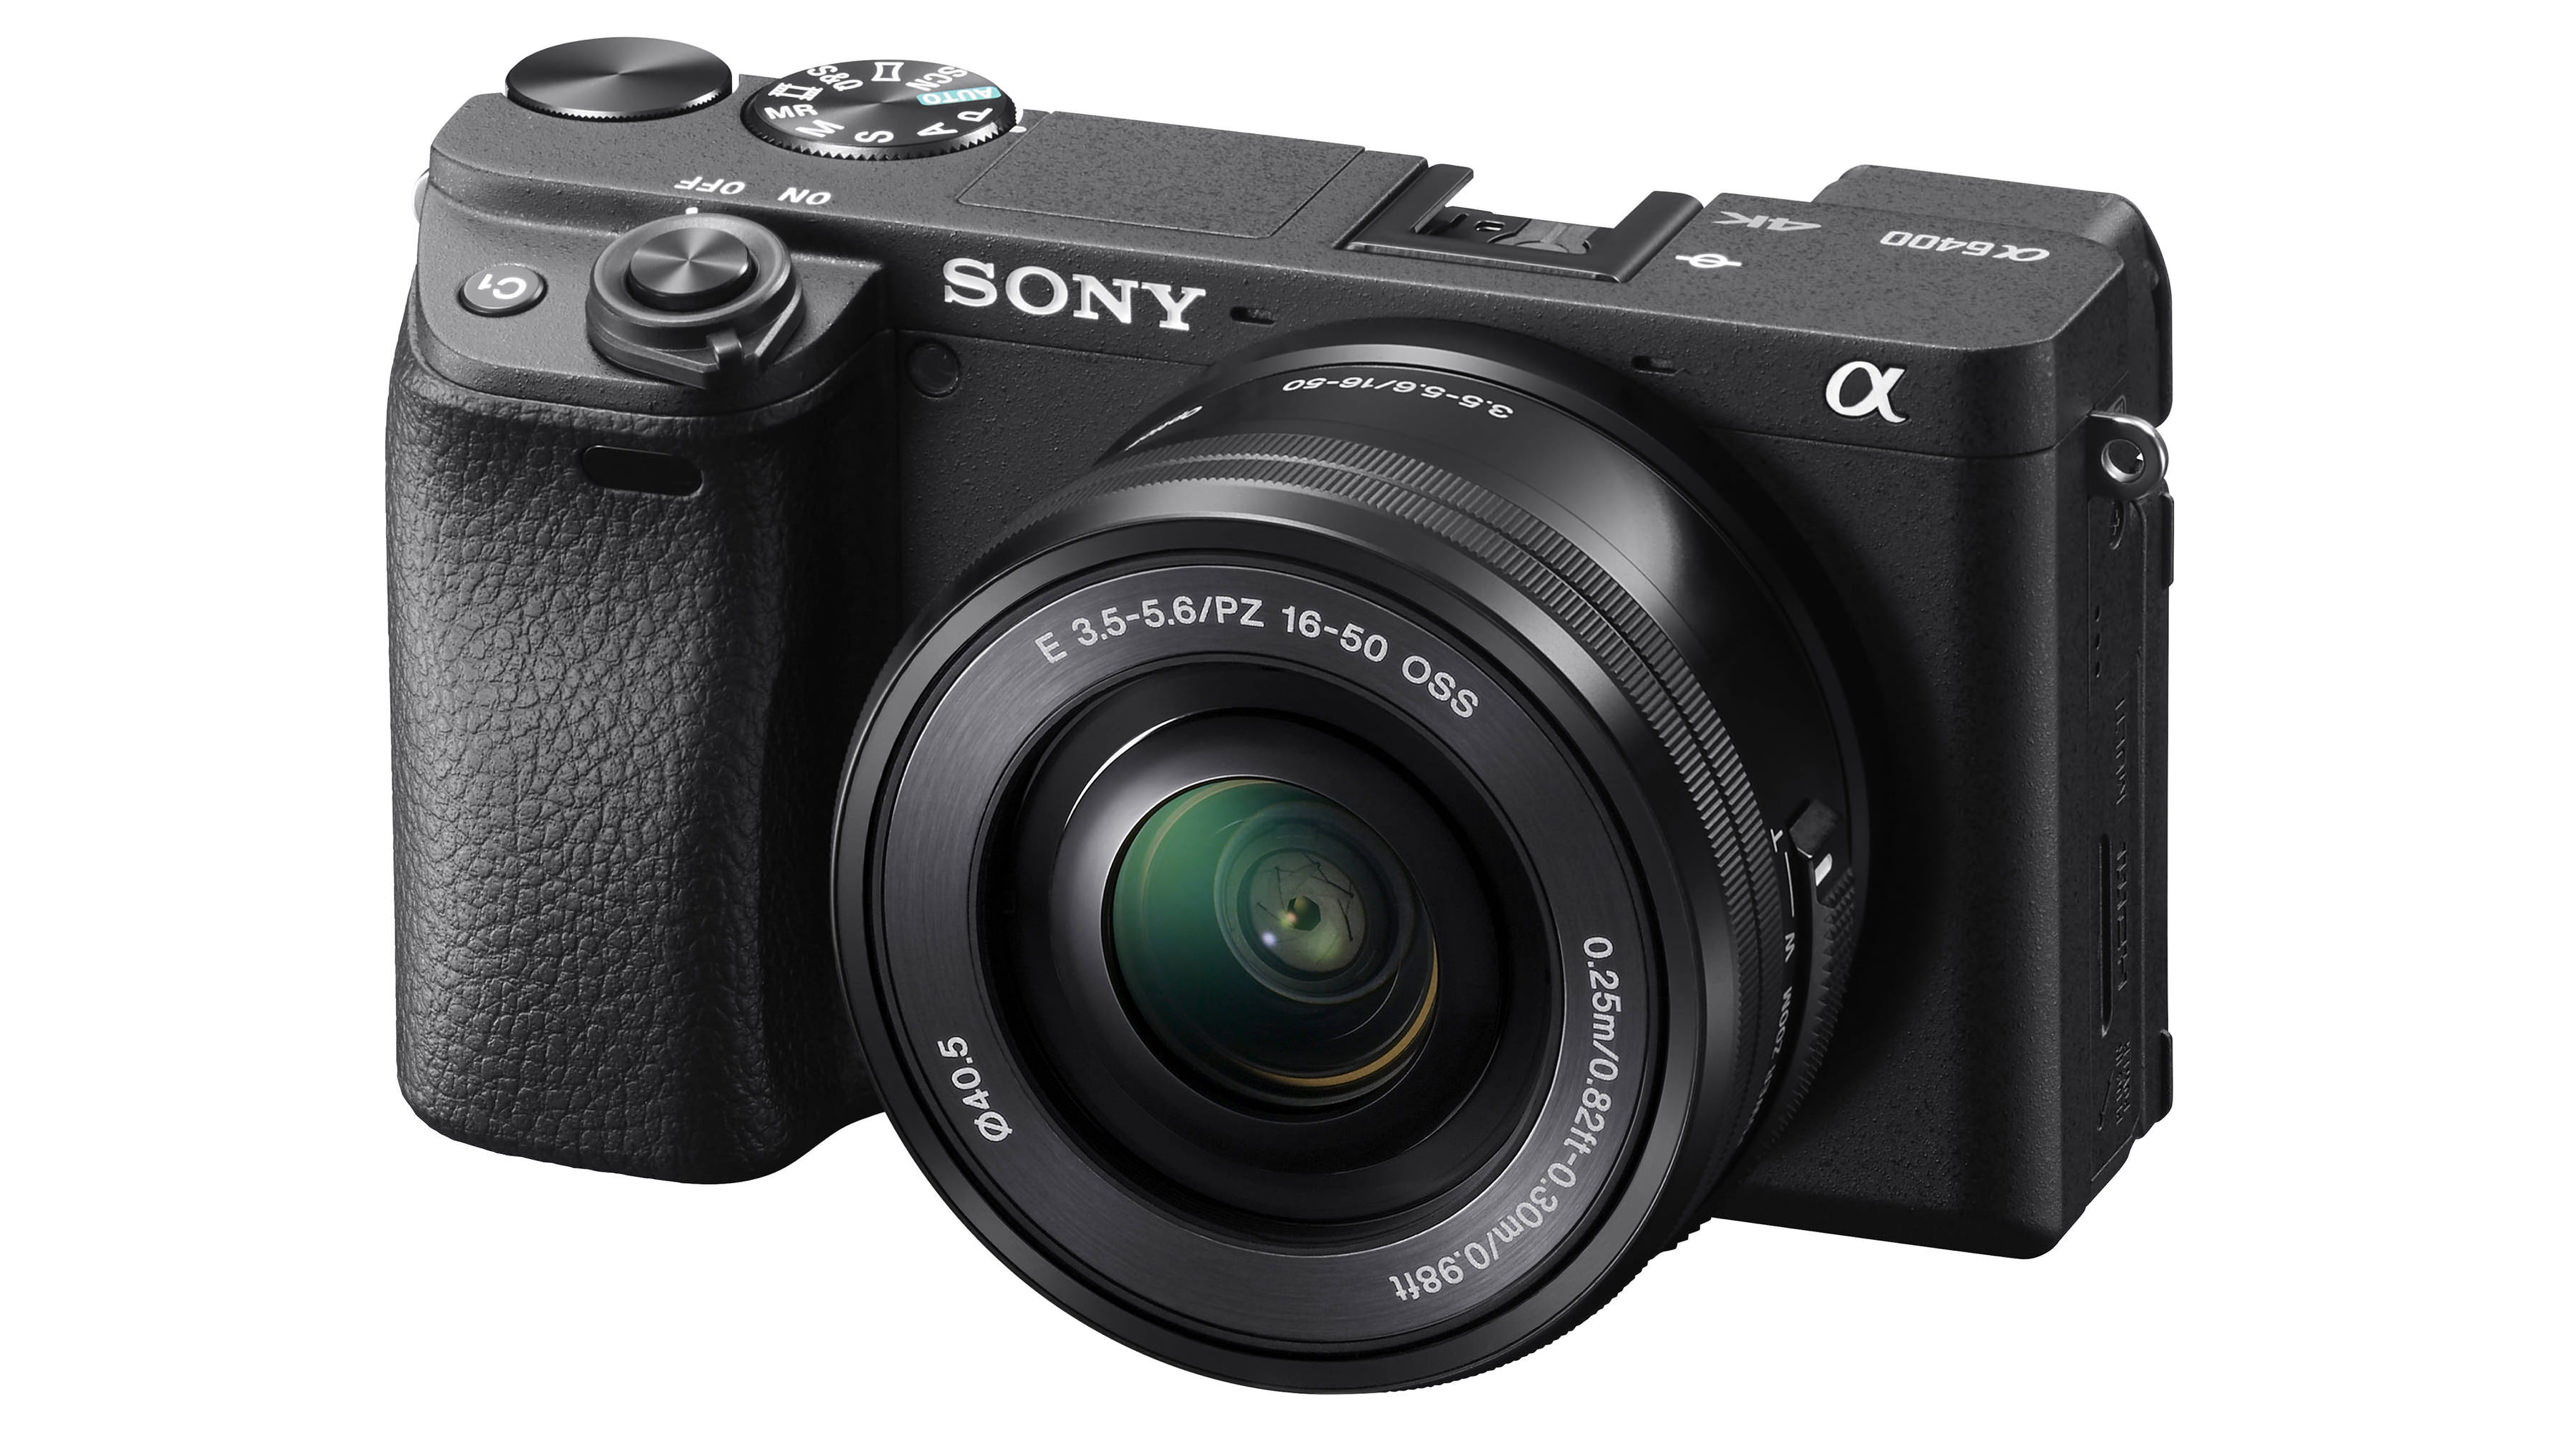
Sony A6400
Sony have been getting more and more attention from the Parkour community due to their high spec cameras, often out competing Canon when it comes to raw specs. The A6400 offers the best compromise of features and portability for shooting Parkour, with in body stabilisation, a larger sensor size which results in better low light video quality, and a workflow that is some of the most well documented on the internet. Despite being one of the harder cameras to learn properly, Sony cameras are a popular choice for filmmakers in Parkour, and the fact that you can adapt almost all lenses to the Sony E mount makes them a great upgrade choice from people stepping up to a more video focused camera with existing Canon lenses.
You can get it at the following links
Amazon US Amazon UK Amazon DE Amazon CA
All-Around Options
Canon DSLRs
Most of the Canon DSLRs in the midrange tier will offer comparable image quality. These are known as APS-C sensors and sometimes referred to as ‘crop cameras’. Any of these cameras will be a great first parkour camera though. It’s going to shoot at least 1080p at 30fps and some will do 60fps (for slow motion), will have pretty nice depth of field for that cinematic look, and most every other freerunner will have Canon lenses that you can borrow. They’re easy enough to learn, and the community has more or less all gone with one of these types of camera so for that reason we recommend them.
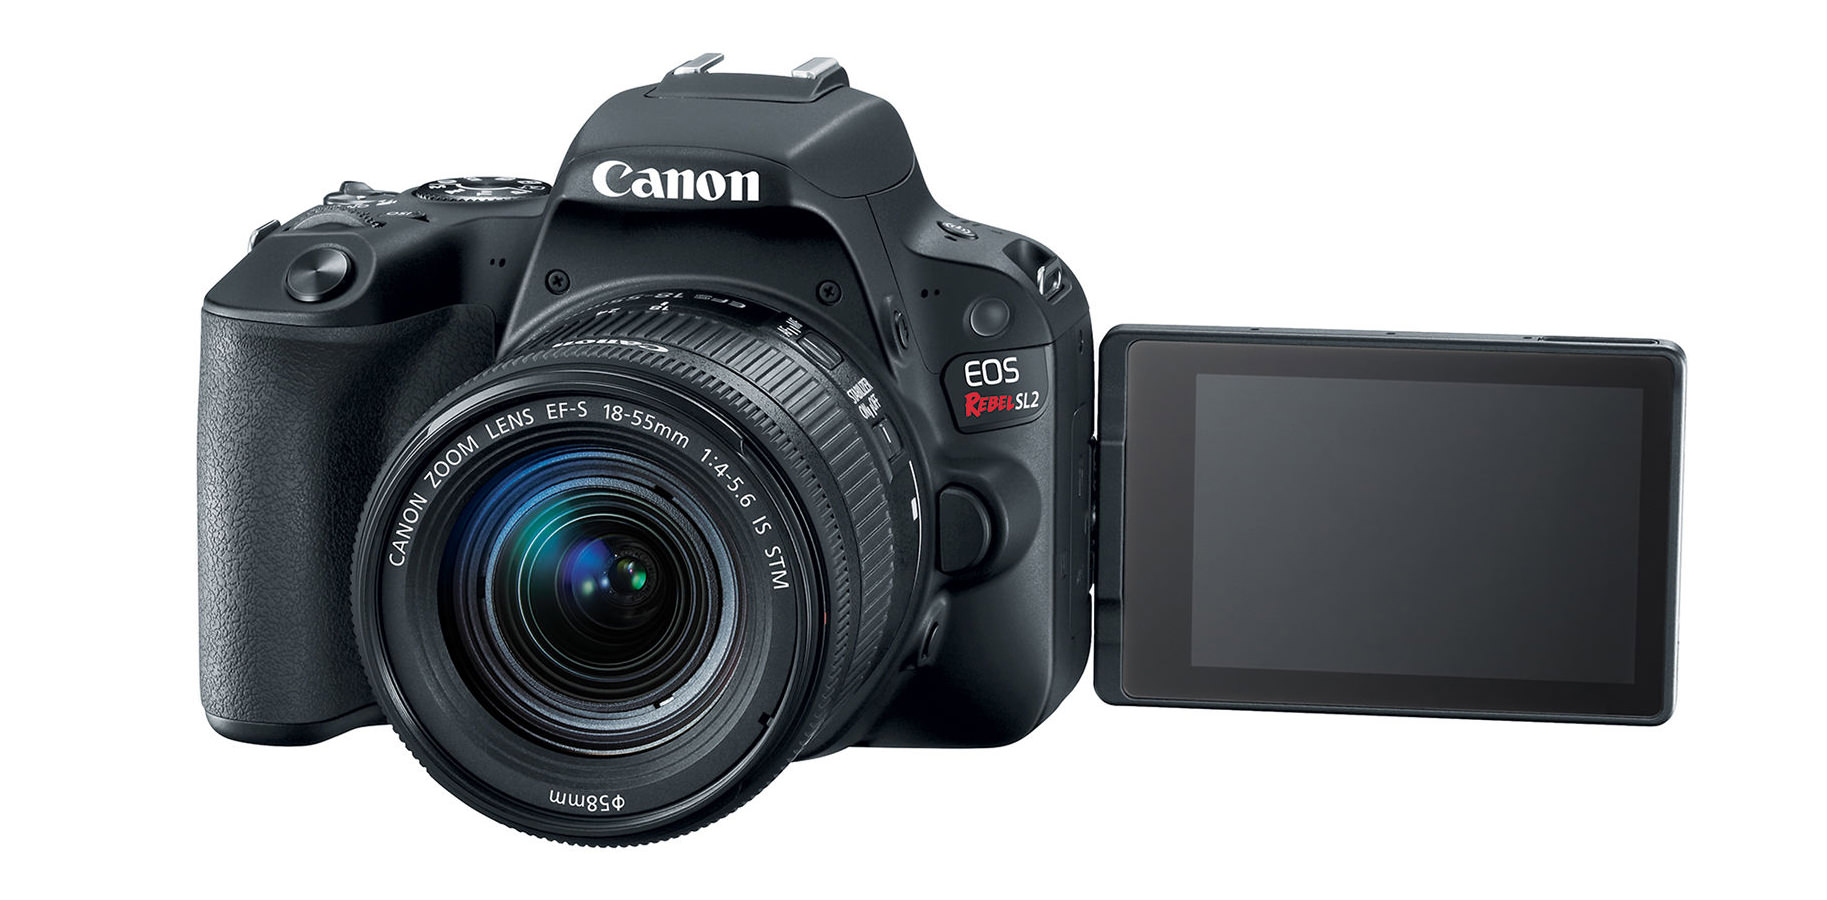
Canon 200D (EU Name) / EOS Rebel SL2 (USA Name)
My current pick for a first from the Canon lineup of cameras is the Canon 200D / Rebel SL2. Its easy to use, has an amazing flippy screen (which some of the big boy cameras don’t even have) and as well as making good videos, it takes pictures too! You will need an SD Card to shoot video, and it needs to be atleast ‘Class 10’ else it might not be fast enough to record everything. There are lower grade models and higher grade models, but I think this is the best price to performance ratio at an entry level for video. If you want a bit more power for stills, look at the Rebel T7i / Canon 800D instead, but both cameras have the same sensor and offer effectively identical video performance.
You can get it at the following links
Amazon US Amazon UK Amazon DE Amazon CA
Extra Lens Recommendations for Filming Parkour
You’ll then want to probably get one or two lenses to use when you’re filming parkour. Typically, lenses are where you want to invest more of your money than the camera ‘body’, because over the years you can upgrade the body but use your lenses on your next camera and so on. We’re only going to recommend two types of lenses to get started because they are so useful for making a parkour video. Its fun to have fancy long zoom lenses but most parkour is filmed up close and personal. There are different options depending on which camera you have, so we will split this into three sections. Generally, the Canon lenses will be the cheapest and offer better image quality for the price, due to their larger size and ease of manufacturing. We’ve tried to keep the lens recommendations all under £250 / $300.
Focal Length (For Example – 18-55mm)
Assuming you buy a DSLR new, it will generally come with what is known as a ‘kit’ lens, usually it will cover a zoom range of around 28-85mm in ‘Full Frame equivalent’. This works as different cameras have different factors of multiplication. On a MFT mount camera, which is 2X crop, a 14mm lens will equate to 28mm FF equivalent. On a Sony A6400 or any of the recommended Canon cameras, an 18mm lens will equate to 28mm FF. To get an idea of how wide 28mm FF is, its about the same field of view as an iiPhone. All the crop factors and lenes are a little bit to get your head around but the general rule applies that the lower the ‘mm’ numbers, the wider the lens.
Aperture (For Example – f1.8)
Aperture is how big the hole in the lens is. The lower the number, the wider (bigger) the hole (confusing right?!). In brief the wider the aperture (lower number, bigger hole) the more light that can get into the camera. This is how you get those nice out of focus backgrounds in movies.
Lenses for Panasonic
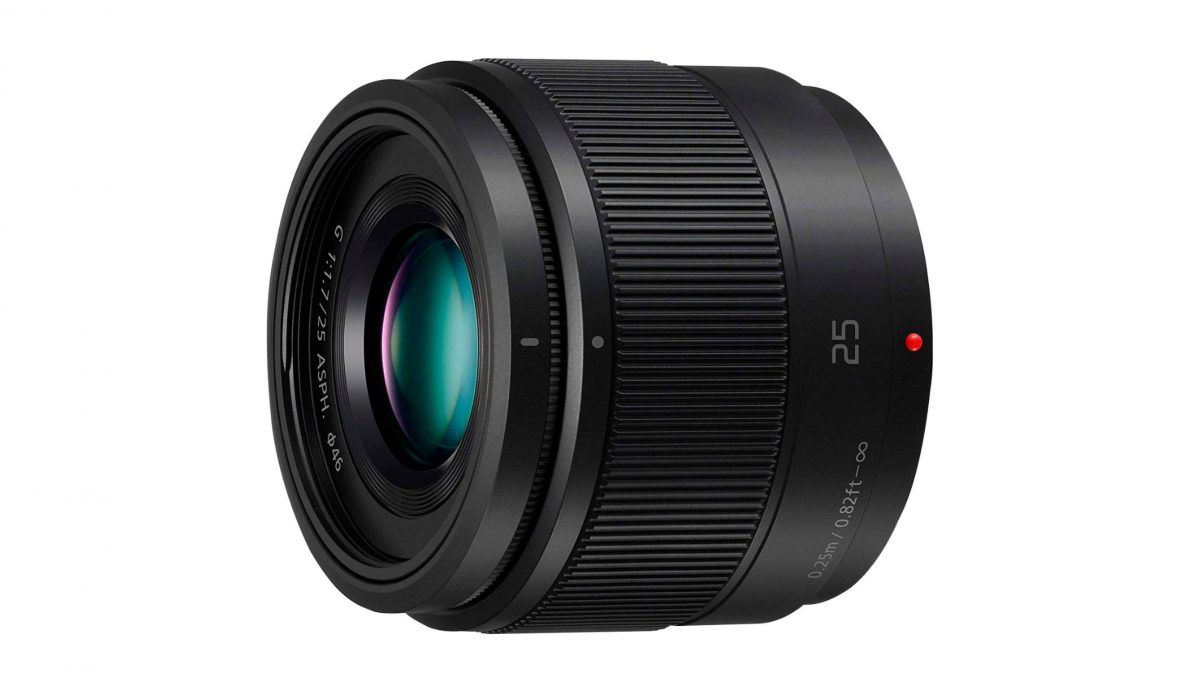
Panasonic 25mm f/1.7
A 50mm equivalent lens is always a great option when wanting to add some more depth and cinematic quality to your videos. It has a fixed focal length, meaning it cant zoom, but it has a much wider aperture than most zoom lenses. This makes it good for shooting at night, detail shots, and changing the feel of your videos to something more personal.
Amazon US Amazon UK Amazon DE Amazon CA
In terms of a wide angle lens, the cheapest we can find is a 7.5mm fisheye lens for around £250. At that point, you might as well just spend the extra and get a GoPro for £320 and have a similar level of fisheye but also all the benefits of owning a GoPro. If you have a Panasonic camera, consider a GoPro before buying a wide lens for it.
Lenses for Sony
If you want to shoot 90% video, then our primary recommendation would be to buy the canon lenses from below and use a cheap adapter to use them on your Sony camera. All the lens features except autofocus should work fine, and its siginificaly cheaper than buying Sony lenses. You will need to learn to manually focus, but you will save money and develop skills that will make you a better filmmaker down the line. All the movies are still shot with someone manually turning the focusing wheels you know!
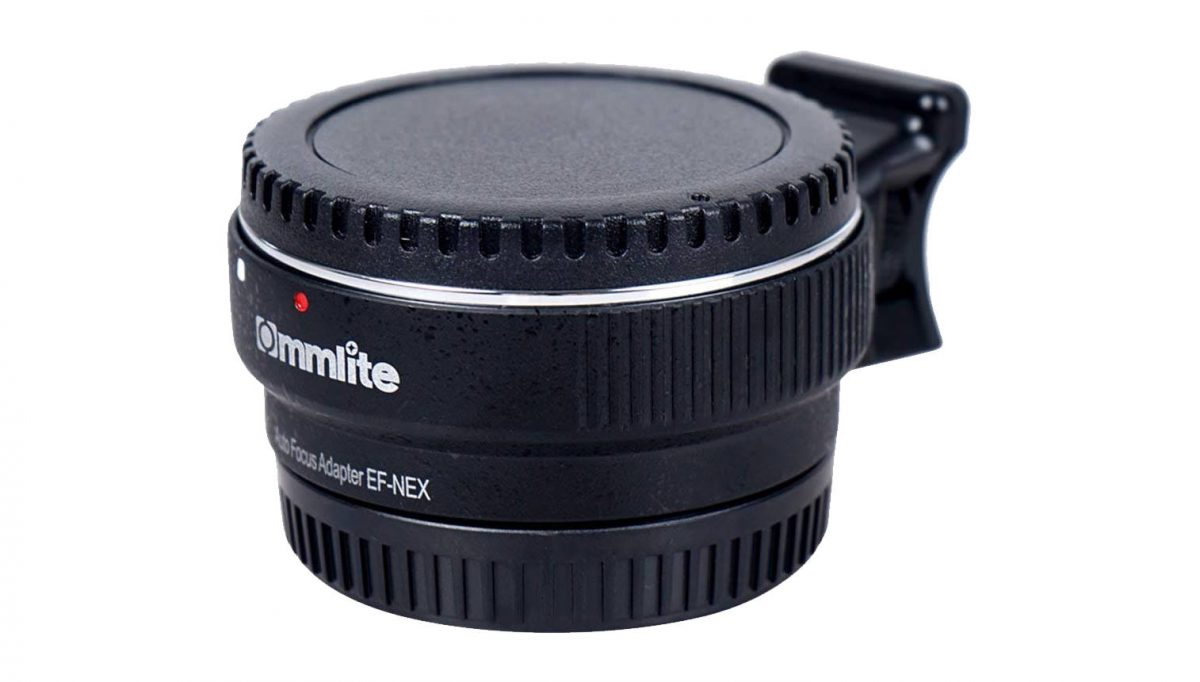
This is the adapter we have used for a few years now, its inexpensive and means for the price of the adapter and a Yongnuo 50mm 1.8 lens, you’ll still save £30 compared to the budget sony option. Even when stepping up to the more expensive and professional cameras, a lot of people are working with adapted Canon glass on sony cameras.
Amazon US Amazon UK Amazon DE Amazon CA
Lenses for Canon
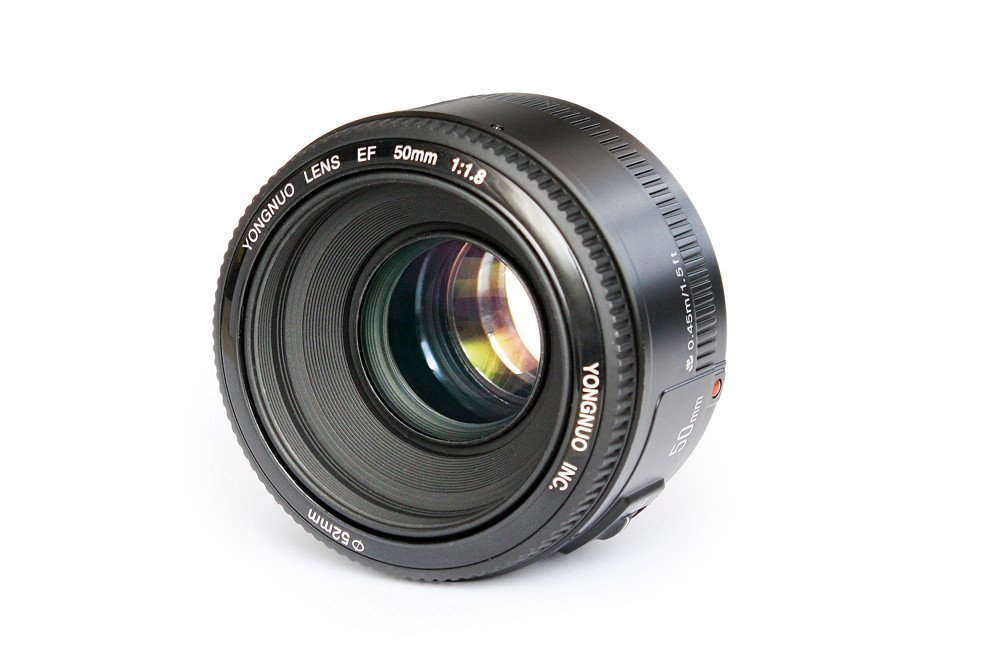
Yongnuo 50mm f1.8
This is probably the best value lens in the history of cameras. Yongnuo are a really cheap Chinese company, that copied an official Canon lens, and somehow made it sharper and cheaper. Well done. Its a 50mm f1.8, so its going to be really good for getting those nice out of focus backgrounds you want to make your videos really look fancy. You will need to learn how to do manual exposure (which we explain later in this article) but if you want to get just one extra lens, make it this one. You can get it from amazon at the following links.
Amazon US Amazon UK Amazon DE Amazon CA
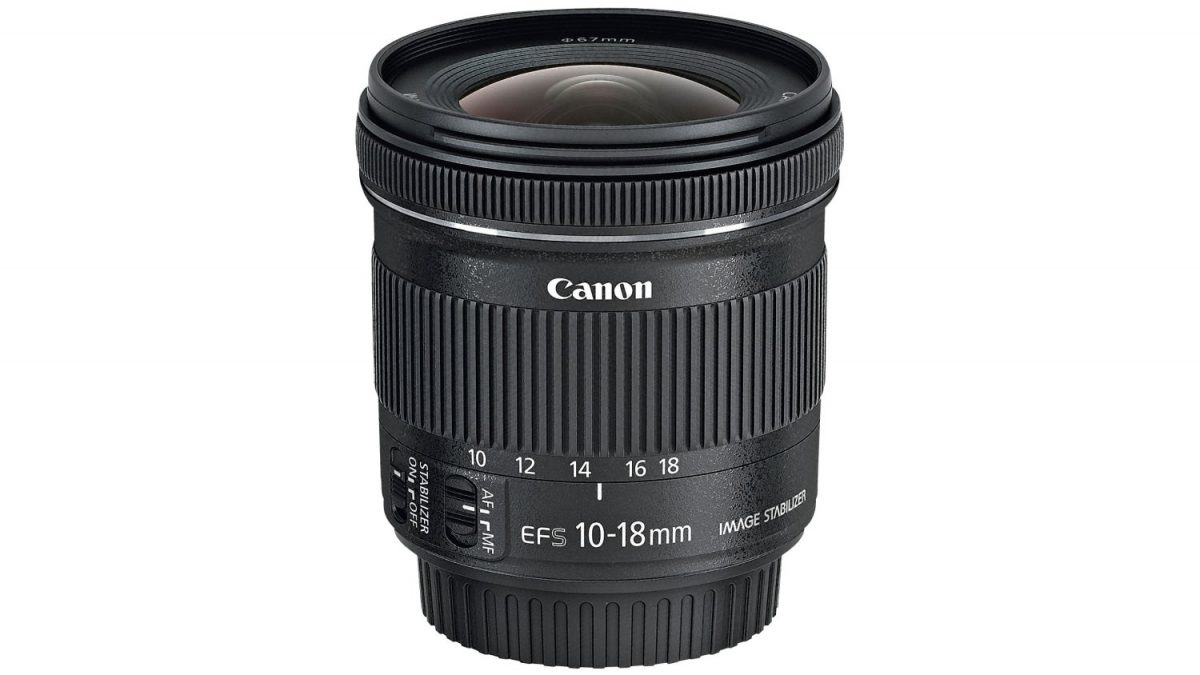
Canon 10-18mm
This is a recent and magic lens from Canon. As previously explained, focal length is how wide your shot is. You might have noticed that in a lot of parkour videos, along with other extreme sports, its filmed with a wide angle lens. Wide lenses allow you to see more of the action while being up close, and can make videos feel more ‘actiony’. This lens goes right down to 10mm which is more or less as wide as you can go, and because its ‘rectilinear’ it keeps straight lines straight, instead of going curved like fisheye lenses. Links to get it follow.
Amazon US Amazon UK Amazon DE Amazon CA
Pocket Action & POV Parkour Camera Options
Without a doubt, there is only one camera manufacturer that we have found is up to the task for filming parkour in a POV way, and that is GoPro. Having more or less cornered the action camera market, they consistently put out the best small action cameras for parkour and we use them exclusively as our first person cameras in our own projects.
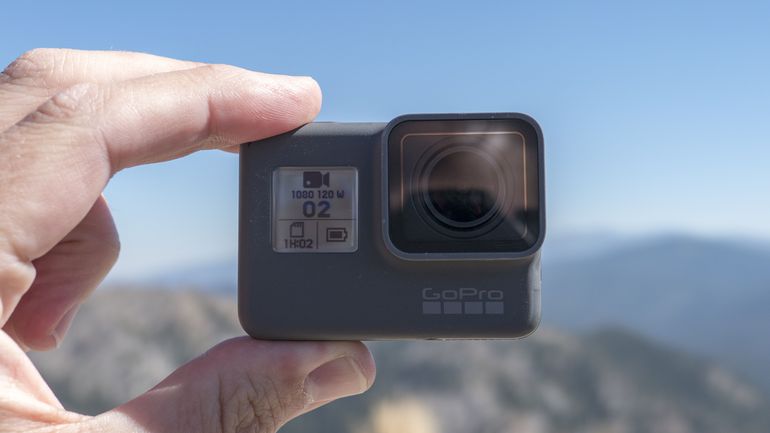
GoPro Product Line
GoPro have three main variations of cameras in their product range currently. All are waterproof, all have wifi/phone app remote control, the higher grade ones have better framerates and resolution. In essence they work like this…
Current Lineup
- Gopro Hero 7 Black – Best resolution and framerates, best image quality, rear screen, waterproof without extra case
- Gopro Hero 7 Silver – Intermediate resolution & framerates, no Hypersmooth stabilization, waterproof
- Gopro Hero 7 White– Basic resolution and framerates, no Hypersmooth Stabilization
Legacy Lineup
- Gopro Hero 6 – Effectively the same as Hero 7 Silver in video spec, no Hypersmooth etc
- Gopro Session (Any Model) – Basic resolution and framerates, no screen, waterproof
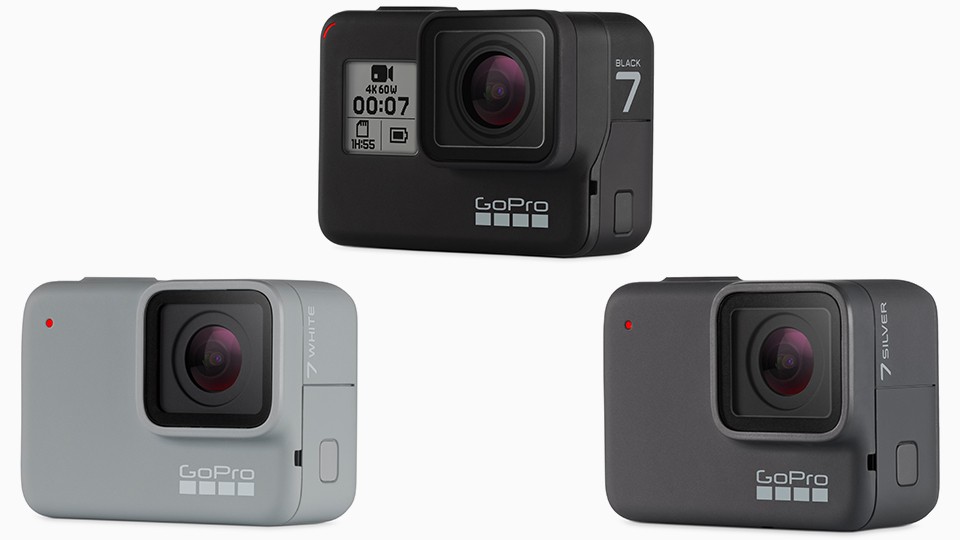
GoPro Hero 7 Black
Currently the top of the line GoPro is the Hero 7 Black. The gopro product line has a number of cameras, but the 7 has the best specifications and features for POV filming, so thats what we used in a number of our viral POV videos. The killer new feature on the Hero 7 is the Hypersmooth stabilization, which makes your handheld footage incredible smooth and more or less removes the need for any gimbals or other equipment. Furthermore, It shoots 4K, has a really wide (fisheye) lens, you can control it from your phone and it is waterproof, without needing a case! You’ll need a MicroSD card for it and also suggest you grab an extra battery or two. The GoPro hero cameras can be found at the links below.
Amazon US Amazon UK Amazon DE Amazon CA
All of our films have been shot using a ‘mouth mount’, but there are a number of ways to hold the camera in your mouth. We recommend using the GoPro headstrap with the staps taken off, and biting onto the flat bit of plastic thats left. You can also do a similar thing with the skeleton case too, but there are loads of ways, see what you prefer. We suggest avoiding the chest or head straps because they are just too wobbly for parkour filming.
Choosing the best Drone for Parkour
While there are a number of drones out there, of various manufacturers and price points, we would argue that the Mavic is the perfect blend of price to performance. We personally got the ‘fly more’ package as it comes with extra batteries, charger and the travel bag.
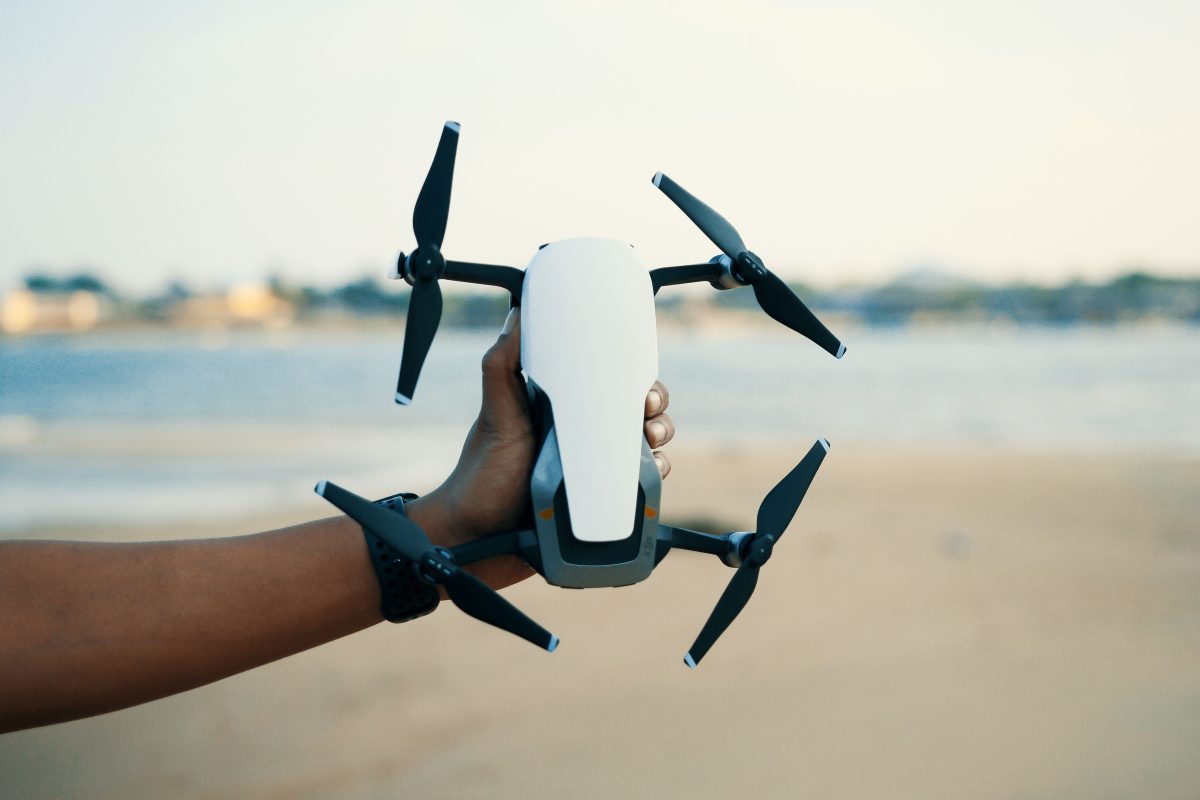
DJI Mavic Air
We have one main recommendation for a drone to film Parkour, and that is the DJI Mavic Air. The mavic series of foldable drones completely broke the mould for what a drone could be, and especially when filming parkour and freerunning, the smaller the profile the better. It all fits into a relatively small travel bag (included with the ‘fly more’ package), that can easily go into a backpack. The Mavic Air is the best blend between good camera quality, price, drone size and drone capabilities.
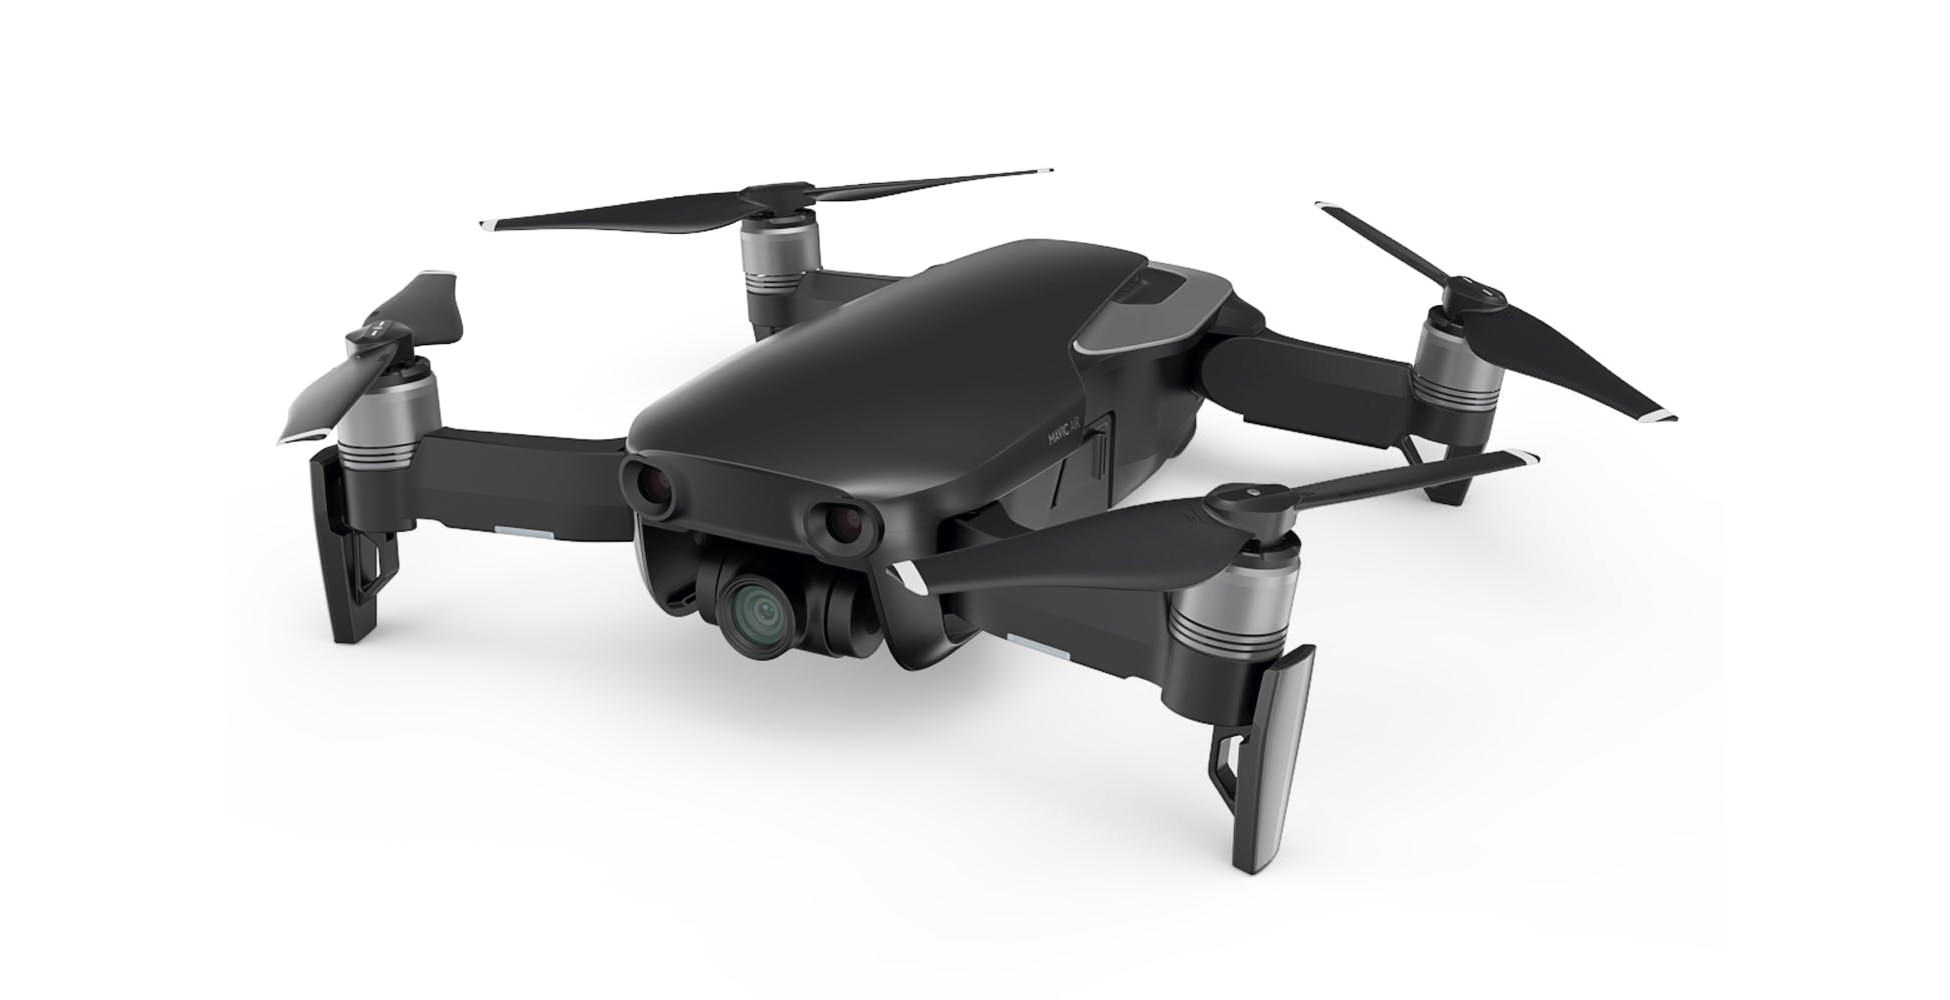
The video quality is good, especially in the 4K mode. Its amazing how much better a video looks with some drone shots included, really giving a sense of epic scale to parkour videos. The Mavic air is a lot of fun to use and its a very simple to fly. One of my favourite things about it is the automated takeoff and landing, which is great for beginner pilots who are not comfortable landing yet.
Amazon US Amazon UK Amazon DE Amazon CA
Other Stuff You Might Need
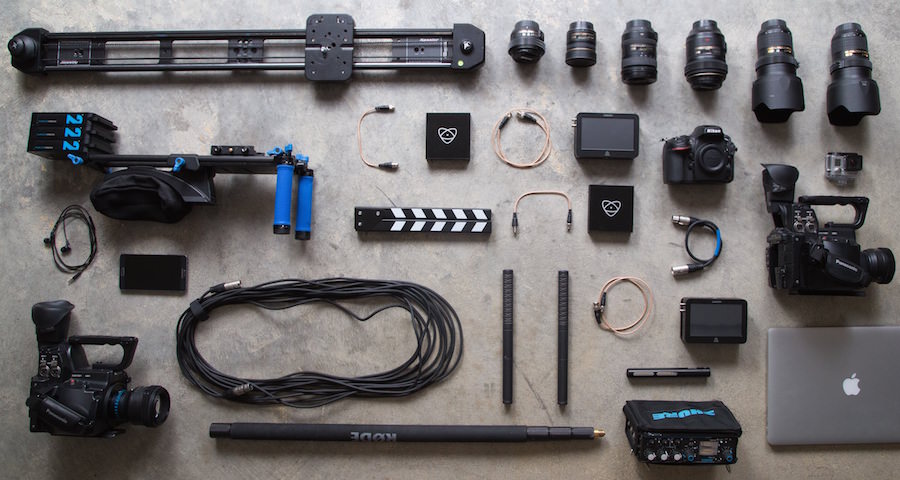
That is all you really need to get started but if you’re looking for a few extra items to help your kit selection, check out these.
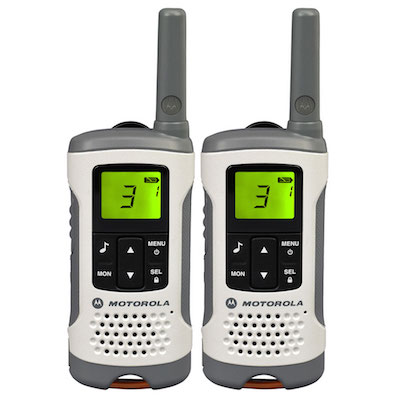
Walkie Talkies
When you're out filming, you might want to co-ordinate some epic shots where you cant see or hear your athlete. How are they supposed to know you are recording? We've found walkie talkies to be useful over and over again, allowing us to co-ordinate shots from far away. These are also super useful if you want to go on night missions!
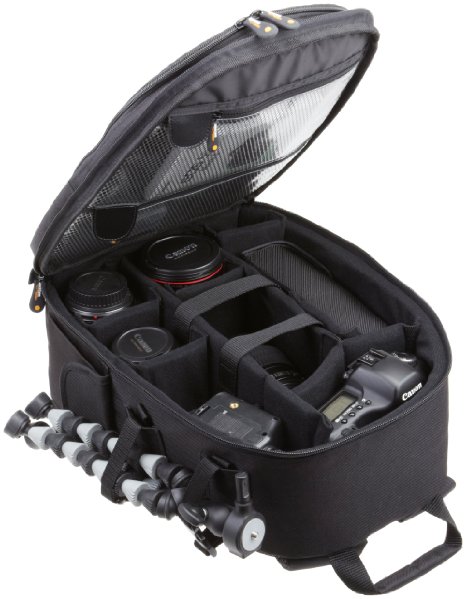
AmazonBasics Camera Bag
You need a camera bag to put all your stuff in, and it turns out that this budget backpack by Amazon is actually really good. Its not super large, so its alright to climb around with, but its got a nice padded interior, decent straps and best of all its pretty cheap!
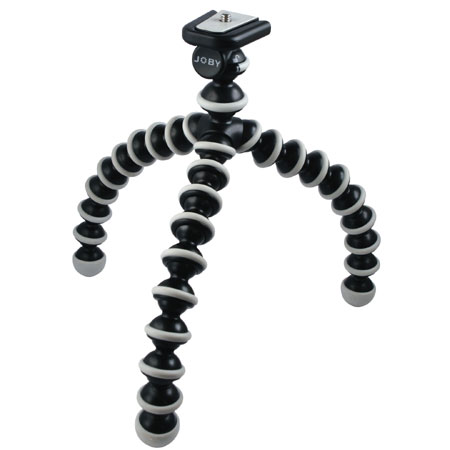
GorillaPod
Sometimes, you want to film yourself. Sometimes, you want to do a timelapse. Sometimes you're in a tree. The Gorillapod is a bendy tripod that you can probably attach to anything. This is the chunky version which is good for both your GoPro and a bigger DSLR, and they are super useful if you want to get a shot but haven't got anyone to hold a camera. Also way lighter and easier to carry around than a bulkier tripod.
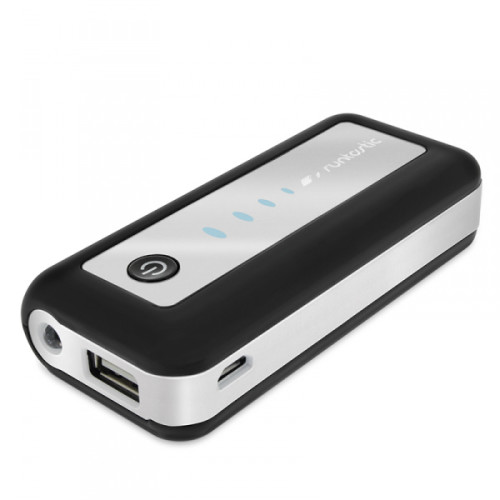
USB Portable Charger
You're out shooting for a while, likelihood is either your phone or your GoPro is going to run out of power. This is where a USB battery pack steps in. GoPros charge via USB and so does your phone. So now you can run your battery down snapchatting and then just charge it back up again. Thank goodness.
Camera Settings for Canon DSLR and GoPro
Here are our suggested settings to start off with for both a Canon DSLR and a GoPro. Please bear in mind *These are not the best or most professional settings for your camera* they are just what we suggest you go with while you are starting out to get the best quality straight away.
Canon DSLR
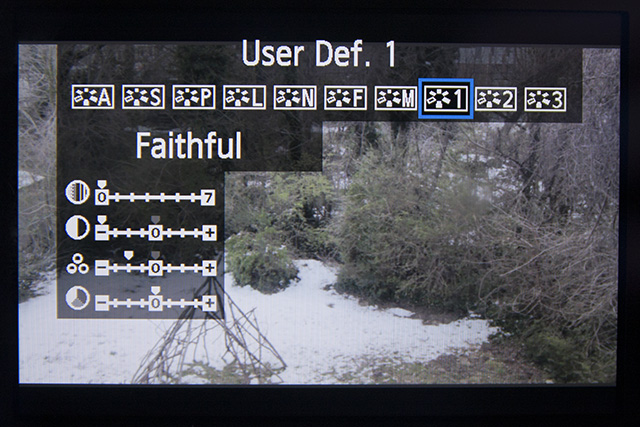
Picture Profile – Faithful (Modified)
Canon video mode will use a pretty basic ‘look’ for your footage out of the box. Its fine for basic filming, but we might want to change the colours etc later on (like you might do when editing an instagram photo for example) so we want to use a ‘picture profile’ that makes this a bit easier for us. Its a bit tricky to figure out the menu system but it should look like this…
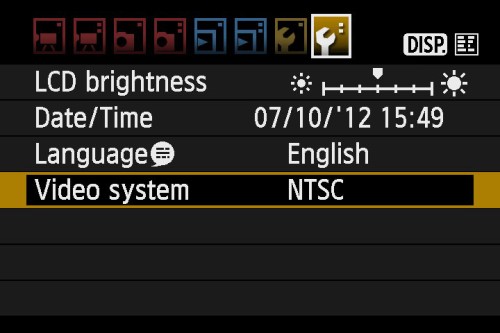
Video System – NTSC
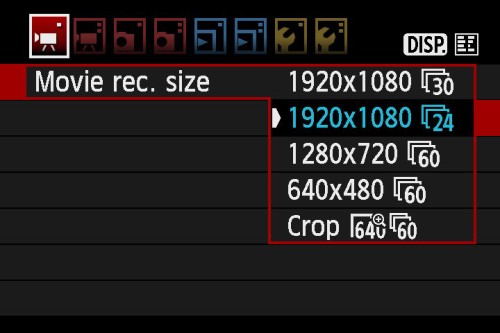
In the past, NTSC was for American TV’s and PAL for European ones. It’s still a setting in these cameras and what it affects is what framerates are available to you as a filmmaker. We suggest setting it to NTSC, and then film in 1080p at the 30fps or 60fps modes, becuase we think parkour looks better with the extra frames. PAL will only allow you 25fps or 50fps by comparison.
Movie Exposure – Manual
You want to learn how to expose the camera yourself so you learn how to make creative choices with aperture, shutter speed etc. Learning how exposure works is a longer thing than this article can explain, but the most basic of basic is as follows.
Keep your ISO number as low as possible, then get the exposure indication line in the middle. If you cant get the line in the middle (too dark), up the ISO a little bit. Left is dark, right is bright.
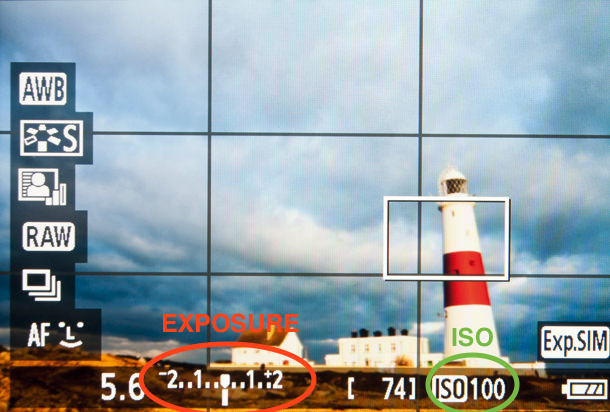
We suggest you watch this video to get a better idea on how to expose your video manually.
Of course, if you want to just get on with filming ASAP, set it to auto and don’t worry about it.
GoPro Settings
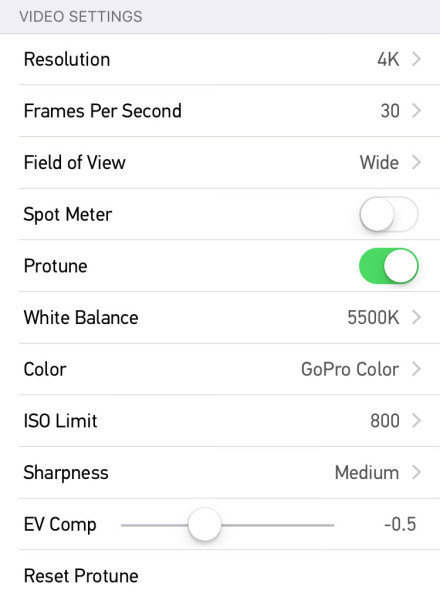
GoPro doesn’t have any manual controls as such, so there is less we need to worry about setting up. We think its easiest to do your gopro settings via the wifi remote app, but you can put them in manually also. Set your resolution to whatever you like, here we’re on 4K but that only gives us 30fps, if you want slow motion, go for 2.7k as that gives you 60fps for example. What is available to you will depend on the GoPro you have. As the most basic set of options for a Hero 7 Black, go with these and you’ll be good.
So you have a camera, its time to start filming parkour!
How you choose to film parkour is mostly up to your own style and taste, so its more difficult to give advice about it compared to strictly /technical/ things like camera gear. That being said, we do have some tips for you that should help your videos improve.
Smooth Shots
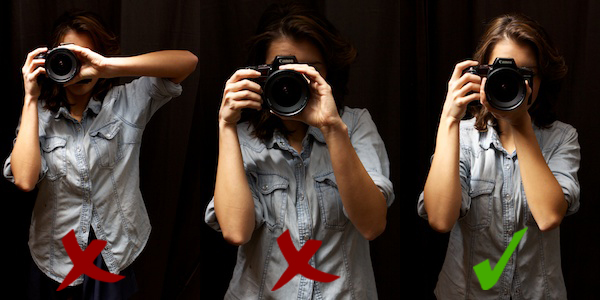
When filming parkour try to keep your shot as steady as possible. Camera wobble is a big deal in making your videos look as good as they can be. Using a nice wide lens will help with steadying your shot, but generally the biggest thing is holding the camera in the most stable way, like this.
Keep the Athlete in the Shot
Along with keeping your shots smooth, following the action is another large part of filming parkour. The athlete should be in frame at almost all times. You’re filming parkour for a reason, you dont want to miss anything good!
Find the Frame
Try to be close enough to see what is going on, but still able to capture it all. Think about what the focus of the shot is, and frame around that. For example…
- Shot is about a big flip = make sure you can see the takeoff, the flip through the air and the landing all in one.
- Shot is about athlete moving across some railings = get creative and shoot through the railings, getting nice and close.
- Shot is about a beautiful landscape = Show the landscape and make the athlete a small addition to it.
There are thousands of ways to shoot parkour, so play around with getting closer and father away, changing angles, getting on the floor or climbing above the action. Don’t be afraid to get really stuck into the action. Try getting people to jump right next to you, or have them land inches away from the camera. In contrast, you can use a tripod and very long zoom to get a really candid look to your video. Parkour enables a practitioner to go anywhere. As a filmmaker, try to apply this when using a camera. Find unique locations to film from so as to present the art in the most interesting way possible.
“If your pictures aren’t good enough, you’re not close enough”
Robert Capa
This can apply with Parkour videos too, If you’re filming a complex series of movements from too far away, chances are you can’t appreciate the movement!
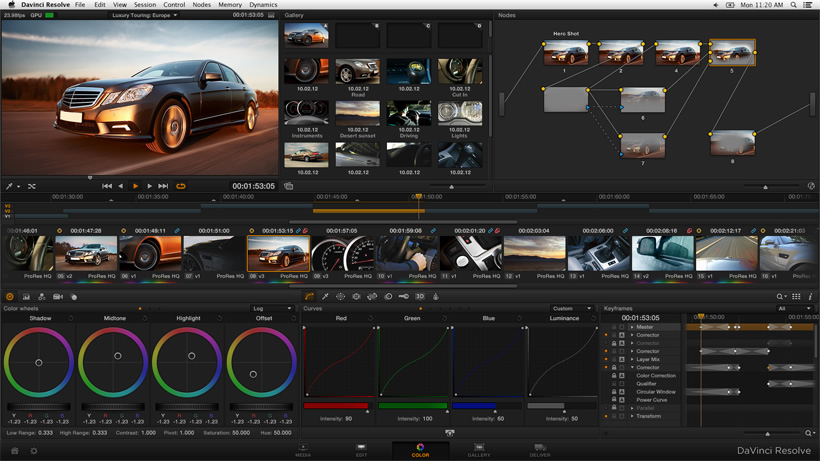
You’ve got a load of parkour footage, now you need to know how to make the video
What to edit with
We use the Adobe suite for editing, most of that is within Adobe Premiere Pro. Its a professional grade package however and can be quite intimidating for a first parkour video, so we suggest the following software if you’re just starting out.
Free Video Editing Software
iMovie
Comes standard on Apple Macs. Its a flexible little software and should be able to handle everything you need it to for basic video editing.
Windows Movie Maker
Comes included on Windows computers. The editing interface is a little weird compared to most other software but once you get your head around it you’ll be fine.
HitFilm4 Express
This is a pretty full featured editing suite. We haven’t used it first hand but it seems to be one of the more professional solutions while still being free.

Paid Editing Software
Premiere Elements
A more simple version of Adobe Premiere Pro, works on both Windows and Mac, our recommended choice for starting out with a ‘real’ editor.
Final Cut Pro X
One of the best editors for usability and doing the technical stuff in the background for you. Easy enough to learn but powerful to use all the way up to professional projects. Mac only.
Sony Vegas
This was the first thing we edited on before we switched to Mac. Supports plenty of useful features, has a nice drag and drop workflow style, Windows only.
Adobe CC Suite
Our editing solution of choice, essential as we hop between Premiere Pro, After Effects, Photoshop etc. If you can access the adobe software, its best to learn it as its likely to be the new industry standard for a very long time.
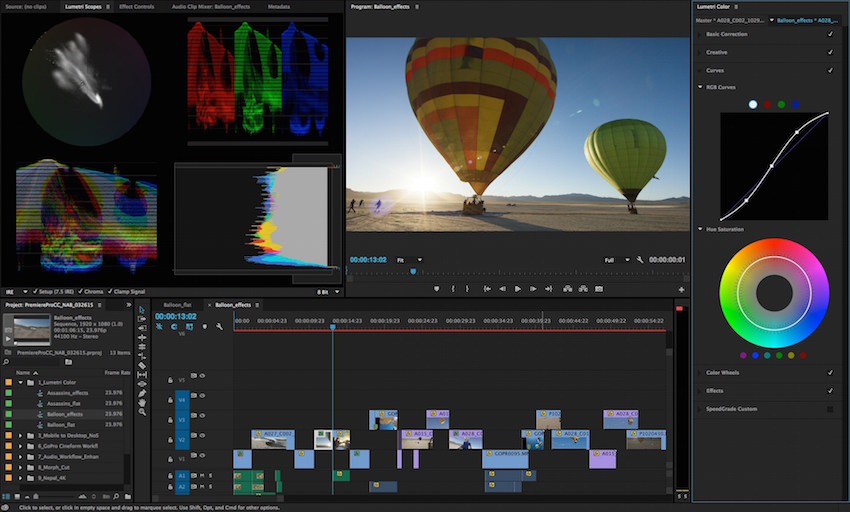
How to use each of these programs is also a huge topic and not one we can cover all in one article. You’re going to need to spend a little time watching YouTube for tutourials!
How to make a parkour video that doesn’t suck
First you need to make what is known as an ‘assembly’ cut of your video. Dont worry about any fancy colour effects, titles or anything else just yet. Just get the video cut together, add music if you want to, and make sure its looking good in that rough format first. Here are a few tips for your first round of editing…
Only show the good stuff
Try to ensure only to show the viewer truly interesting content. Most people fall foul of making their first parkour video consist of lots of walking to and from camera etc. As Parkour videos have developed so far by now, a video truly has to be interesting and dynamic content every second.
Avoid the Black (If you can)
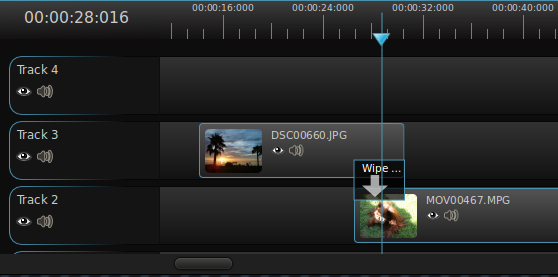
When it comes to ‘building’ your video into a sequence, black areas (which is when there is nothing on screen) should generally be avoided.
Keep the cuts simple (at the beginning)
Most video editing software comes bundled with a selection of gimmicky video transition filters. A simple jump cut should be sufficient for 99% of your video editing so be very selective about using these extravagant transitions (if at all). In time you’ll learn how to do those amazing transitions but for now stick with a simple cut.
Slowmotion?
Slowmotion is a super fun way to show off parkour in videos. Make sure you’re careful if and when you use it, but if you use it right its going to look amazing.
If you dont have enough footage…
One of the biggest problems with making a parkour film to a 3/4 minute song is that you will need roughly a hour or so of quality footage to produce a video. If you find yourself with a video thats lacking footage, you have three options.
- You either scrape the barrel and try to find some acceptable filler from what you already have.
- You cut the audio in a way nobody notices the song is shorter.
- Or you wait and film more content another day.
To this end, ensure to be selective with what you wish to put into your video. If you have clips that aren’t movement but you still want to put in, ensure they have merit of their own right. Never reuse footage. If you need to re-film a movement, film it from a different angle, use a different person or find a way of making it new again. Repeating the same clip over in slow-motion for example feels amateur in comparison to having an alternate angle.
If after all this, you’ve made your video, edited it to a song and you watch it and it doesn’t all seem to ‘click’. Go back and tweak it some more, start over if you have to. Also do remember this is just some basic things we think is good to start out on, there are reasons to ignore almost all of these points. Videos are an expression of you as an artist, so if you have an idea, run with it.
“A delayed game is eventually good, a bad game is bad forever.”
Shigeru Miyamoto, Creator of Super Mario
When you have a finished ‘timeline’
You’ve got all your clips in a timeline for your video, it has a start, middle and end. Perhaps you’ve put a backing track under it also, and its actually a complete video. Well done! You have an assembly version of your parkour video. Now you can add your video effects, titles and anything else you want.
There are a ton of different ways to apply effects and titles, all depending on the software you are using. Play around, figure some stuff out and polish off your video so its ready for YouTube!
Assuming you filmed in 1080p, you need to make sure your video exports out at 1080p as well. Most software will figure this all out for you, but its good to check. If you get the option for an ‘Encoder’ or a ‘Codec’ use H.264 and set the Bitrate to something like 30Mbps. That should result in your final exported video looking the same quality as the original files, but make sure to check it!
Tips for Kicking Ass on YouTube
Once you have your eported video you need to upload it video to YouTube, give it a title and a description (and maybe a custom thumbnail). Once again you can do whatever you want here, but we have a few things we try to make sure we do with our own films.
Pick an interesting title
We usually go with something abstract, or a clear description of the video content. Avoid using ALL CAPS it just looks trashy.
Make the video more than just a collection of movement
Is the video a record of your achievements? Is it memories of a trip? Is there an exciting moment that happened? Tell the story around the video in the description.
Keep it real
You dont need to try to impress anyone. If its your first video, say so, ask for feedback.
Choose a clear thumbnail
Learn how to take screenshots on your computer, and then upload a custom thumbnail for your video. If you look at ours, we always tend to pick someone thats clearly a person and clearly in the air.
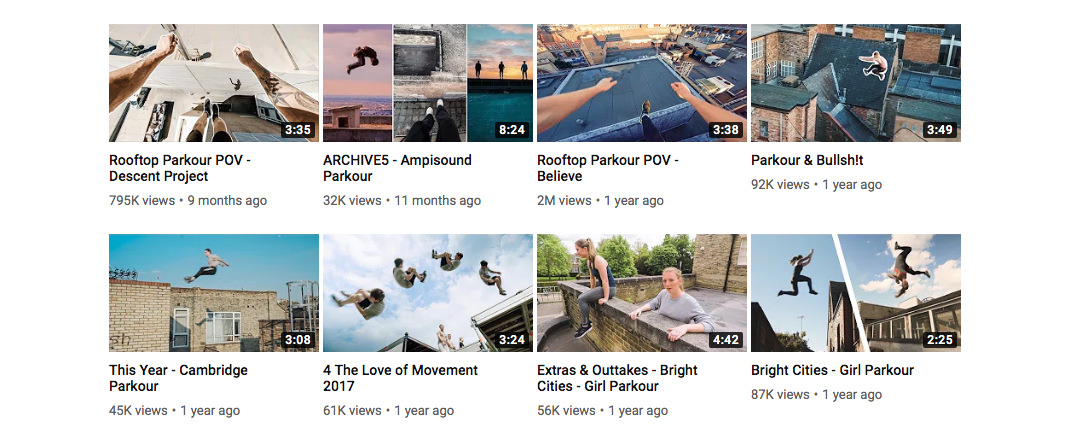
Then get that video link and share it with your friends. Views and subscribers come slowly, our first 100 subs was a big deal, then our first 1,000 was a huge deal. We’re not even the biggest parkour YouTube channel, though we’ve made some cool stuff, we still started at zero.
Whew! That was a lot to take in! Hopefully you’re a little closer to understanding how to make a parkour video, what features you are looking for in a parkour camera and can go ahead and make awesome videos for YouTube! Good luck!
