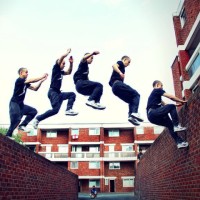
Portable drones are a relatively new part of a parkour filmmakers toolkit. In the past, if you wanted to have drone shots in your videos, you had to own one of the larger drones. As part of that, they required lots of batteries and were not especially travel friendly, due to their large cases and controllers. That all changed with the DJI Mavic.
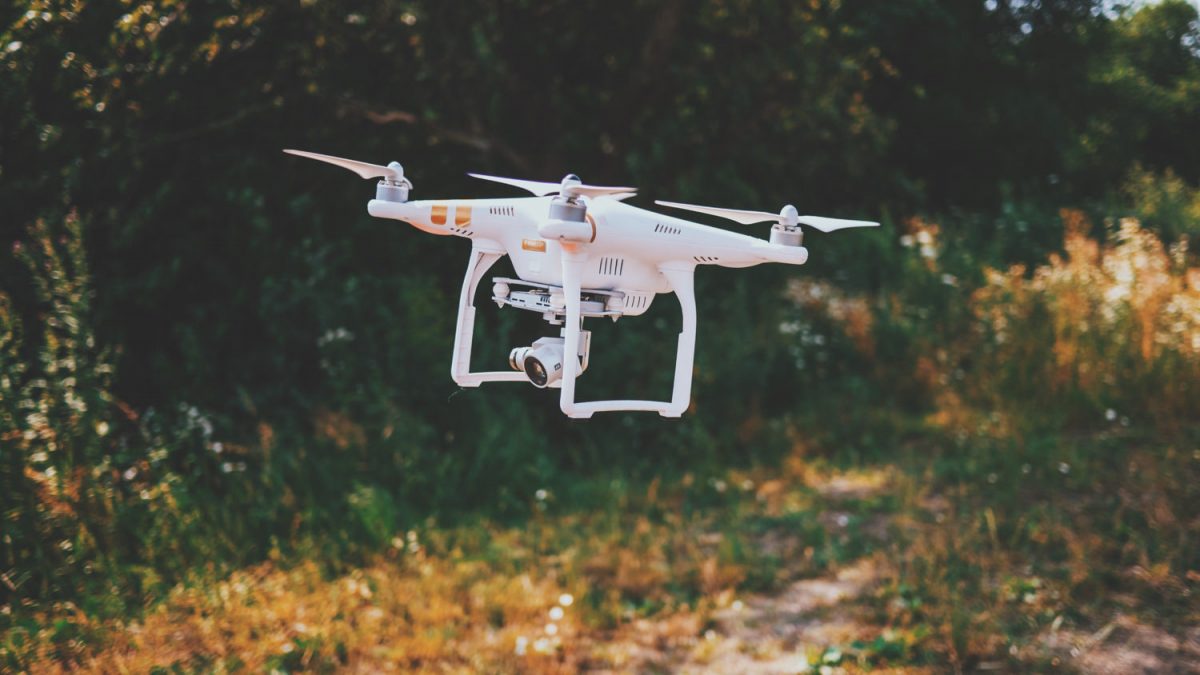
The release of a foldable, portable drone has completely revolutionised how we shoot our own personal Parkour projects, and is an instant way to take your own videos to a new level. While there are a number of drones out there, of various manufacturers and price points, we would argue that the mavic is the perfect blend of price to performance.
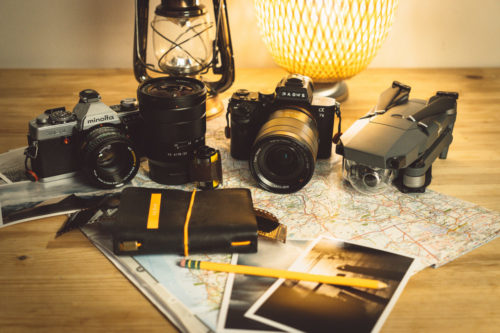
The Drone
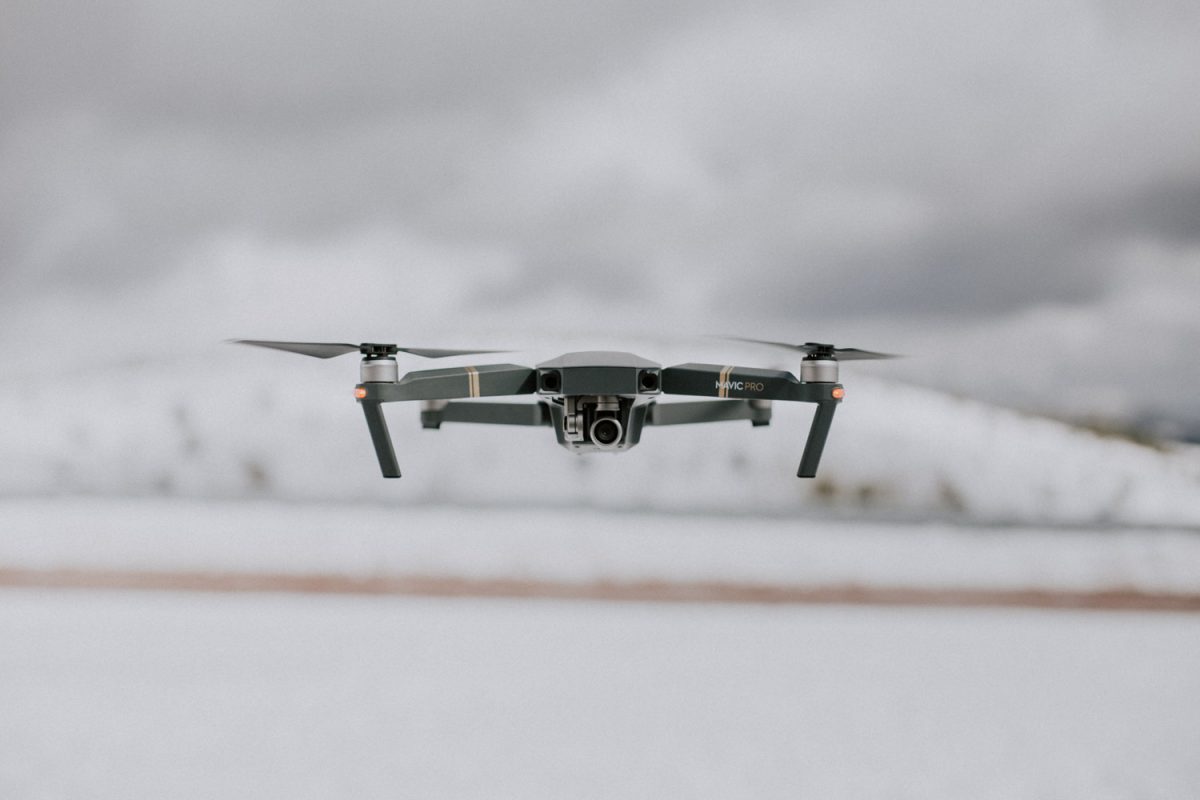
The Mavic is a foldable drone. This completely broke the mold for what a drone could be, and especially when filming parkour and freerunning, the smaller the profile the better. It all fits into a relatively small travel bag (included with the ‘fly more’ package), that can easily go into a backpack. The drone itself can just about fit into a large jacket pocket, but its not the best idea so really you should keep it in a bag or a case.
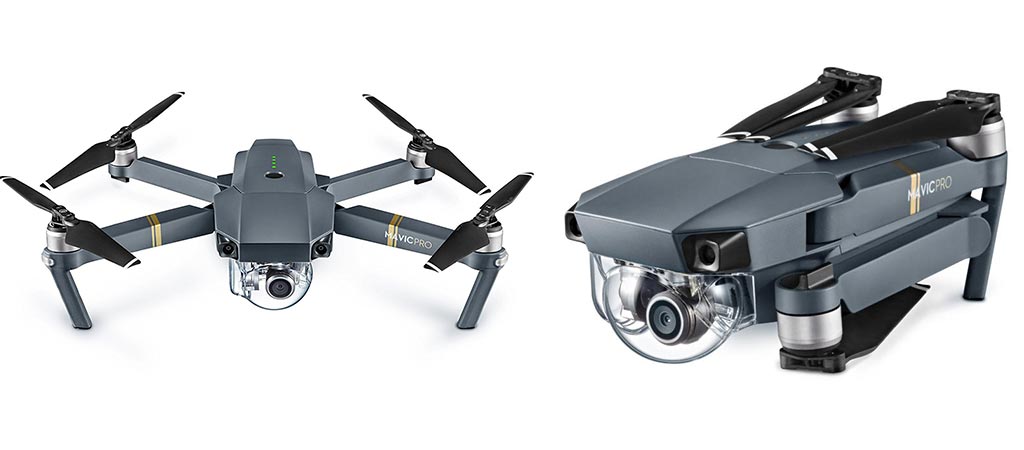
The other great thing about the Mavic, is that unlike most other drones, it is black, so its a little more stealthy and from a distance looks amost like a bird. Its also one of the quieter drones on the market right now, though still pretty loud and it will attract attention in flight.
The Remote
The Mavic comes with a foldable remote control, which you attach your phone to. I personally use an iPhone with it, and using the DJI GO app you can see the feed from the drone camera and operate the drones recording function.
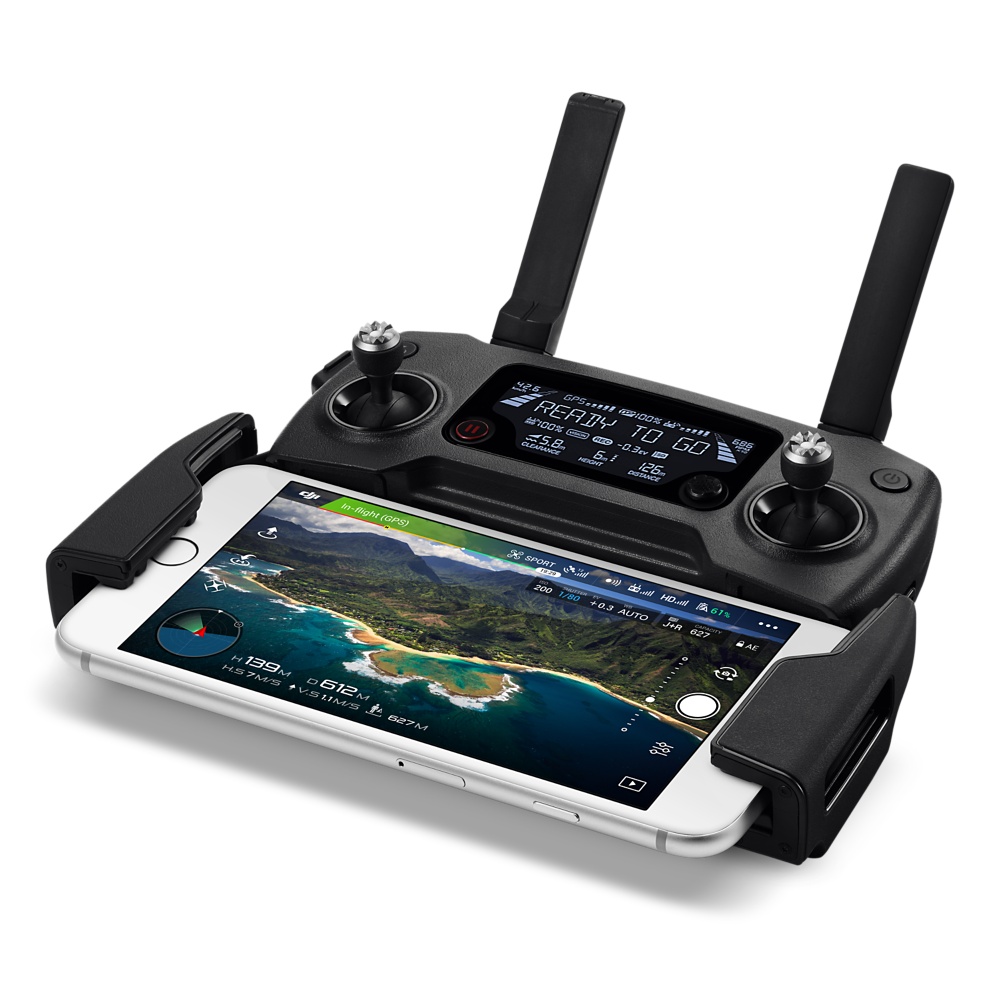
Your phone also stores a low-quality preview version of the footage in a local cache, which you can use for speedy instagram clips or to send to a friend. The caveat is that the phone records what the screen sees, so if you have any signal issues (for example, a dropped frame or two) the video will include those. The SD card in the Mavic itself however, will retain perfect flawless footage.
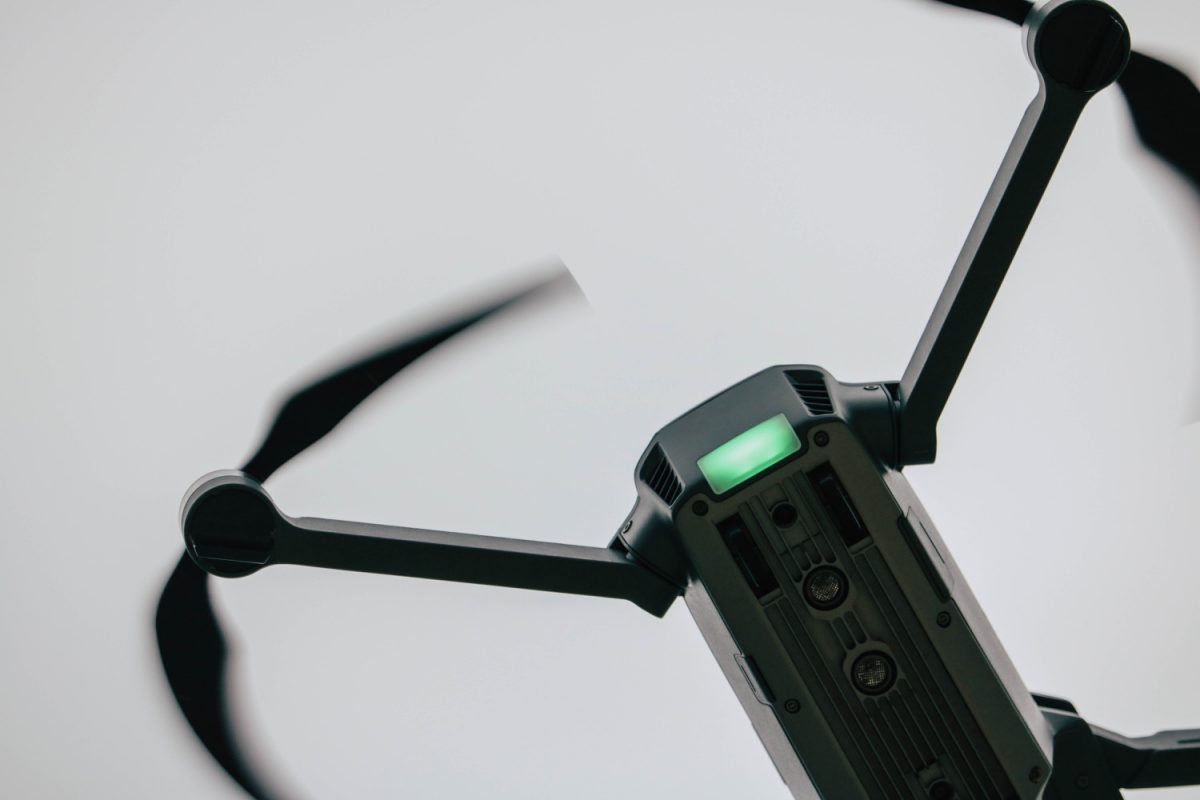
The Batteries & Charging
On a full battery I usually get 22+ mins of flight time, generally I will bring the drone down between 15-20% battery but in the past I have run it down to 9% where it automatically emergency landed for me. The batteries themselves do discharge if you have not used them for a while (as a safety feature) so make sure you charge them all up the night before you plan to fly!
The Footage
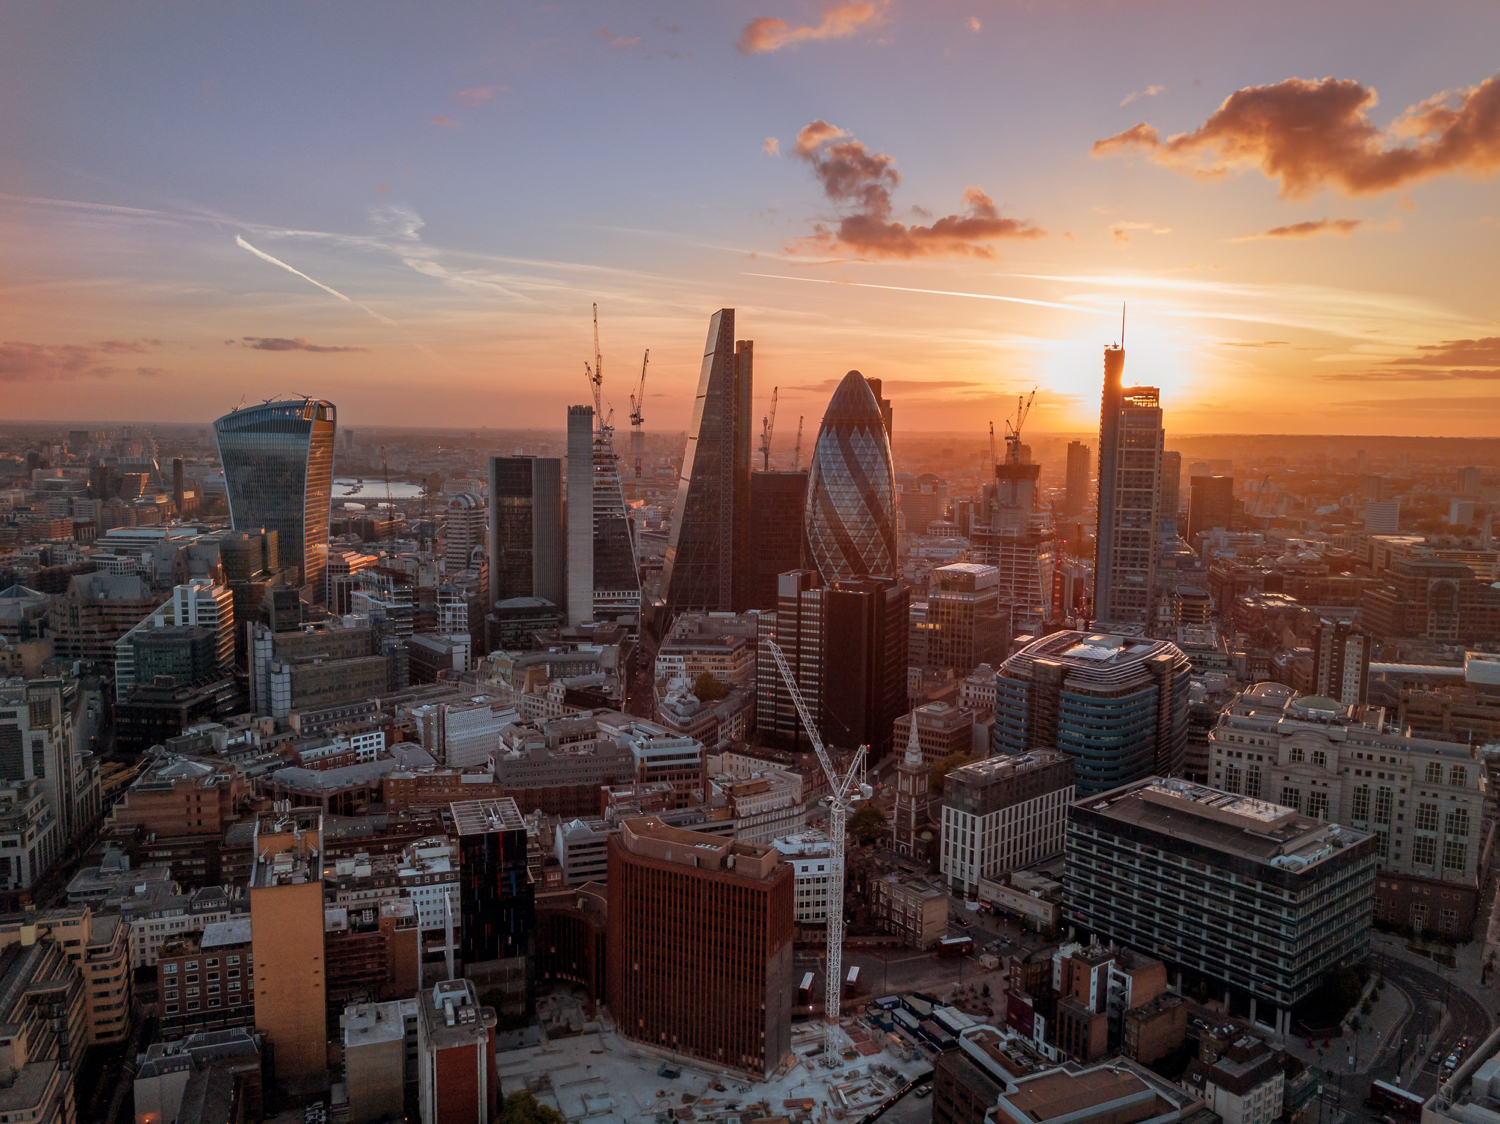
While the Mavic is capable of a number of frame rates and quality settings, we can only recommend one. We feel the only mode worth using on the Mavic is 4K UHD 30fps. This is the best visual quality the Mavic can produce, and avoids some of the artifacting present in the 1080p & 2.7K options. Below is a still photo I took with the Mavic and edited with Adobe Lightroom.
Other essential settings are to set the drones color setting to ‘D-Cinelike‘ and the sharpness/contrast/saturation all to 0,0,0. Finally we would suggest trying to expose at -0.3EV to better retain highlight detail. The mavic footage does recover shadows with some effectiveness, but tends to clip its highlights more easily, so give them some headroom.
Final Tips
 When shooting with the mavic, you need to account for the acceleration of the drone. We find that if your athlete is at standstill, counting down ‘3, 2, 1, go’ is a great way to co-ordinate. You should start your drone move between 3 and 2, and the athlete runs on go. This general timing is a good way to make sure your drone and athlete speed match during the shot!
Whenever you are flying a drone, you must be extremely aware of what is around it at all times. Its very easy to be pulling back with a drone and accidentally hit a tree of building, and if this happens the drone will then likely fall to the ground.
 Keep visible line of sight of the drone, fly at an altitude that puts you above buildings and trees and know the layout of the area then you should be fine.
We generally have a person to act as a spotter, exclusively watching the drone while its in the air to call out to the pilot if they are getting close to anything.
Finally, when taking off and landing, if you are near other people be sure to call out ‘Drone going up’ and ‘Drone coming down’ so they can be aware.
Get a Mavic
You read more info and get your own Mavic at the official DJI store, linked below.
Example Video
I used my own Mavic in the shooting of the below video ‘Bright Cities’. It was amazing working with it to shoot these two talented female athletes, and all the drone shots you see in this video were shot with the Mavic.